 There are many different exercises that can be done for carpal tunnel syndrome (CTS) and we’ve discussed some of these in the past.
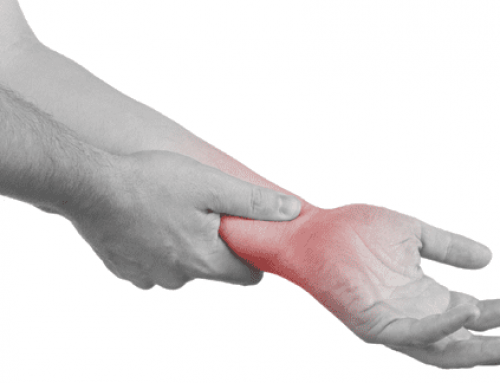
To understand “why” gliding exercises are helpful, let’s review the anatomy of the carpal tunnel. There are 9 tendons that move through the narrow carpal tunnel at the wrist. This confined space is literally jammed full and when we move our hands and fingers in a fast, repetitive manner, we produce friction and therefore heat between the tendons that attach the muscles in the forearm to the fingers in the hand. These tendons are in “sheaths” that wrap around the tendon and provide lubrication for the sliding tendon. If the friction/heat builds up too quickly, swelling occurs, which increases the pressure inside the confined space of the carpal tunnel. The median nerve sits on top of all these sheathed tendons and when they expand or swell, the nerve gets pushed up into the roof of the tunnel (the transverse carpal ligament). An analogy would be a river or lake rising to a point where a bridge that goes over the river is eventually engulfed by the rising water. Any object under the bridge would get pushed into the bottom of the bridge (which would represent the median nerve being pinched up against the bridge, or transverse carpal ligament. When nerves are pinched, depending on how much pressure is applied to the nerve, there can be numbness, weakness, pain, and tingling. If the nerve is damaged, the symptoms are more severe. Therefore, in treating CTS, the combination of ice massage over the carpal tunnel (for about 5 minutes or until numb), chiropractic joint manipulation provided at Pro Rehab Chiropractic Wilmington and by Dr. James Sheehan, a splint at night to prevent wrist bending (which increases CT pressure), and EXERCISE are very important. Follow your Pro Rehab doctor’s recommendations as to when to start the exercises as starting too soon may actually result in a worsening of symptoms!
The concepts behind gliding exercises include: 1. Break up adhesions that form between the sliding tendons and their sheaths; 2. Move blood and other fluids OUT of the tunnel; 3. Improve the range of movement of the wrist and fingers joints. So here they are:
- FINGER EXTENSIONS: a. Hold the arm out straight at shoulder height (near a wall); b. Rotate your arm so the palm faces downwards; c. Bend the wrist backwards as hard as possible by pressing the palm of the hand against the wall; d. Reach over with the opposite hand, grab the thumb and pull back so that a firm “good hurt” stretch is felt in the forearm and HOLD for 5-10 seconds. Repeat this 3 times, pulling the thumb a little harder each time. Repeat this on both sides (so you can see what the difference is in terms of flexibility) 3x/day or as directed.
- BEAR CLAW to FULL FIST: a. Same start position as “1”; b. bend the wrists back & fingers pointing up, so that the palms face away from you and open up the fingers & thumb (the “high 5” position); c. Flex/bend only the tips of your fingers keeping the base of the finger knuckles straight (“Bear Claw”); hold 5 seconds and then repeat a & b but change “c” so that you make a full fist by bending all the hand joints; hold 5 seconds and repeat the entire cycle 3 times (hand open – bear claw – hand open – full fist x3) and repeat multiple times a day or as directed.


